Every few months someone asks us to "build an app like Uber Eats". The honest answer is that the app is the easy part. A delivery business is a three-sided operation: customers who order, stores that cook or pack, and riders who carry. The software coordinates them, but it cannot sign a restaurant, hire a rider or decide what to do when a customer is not home.
This guide is a practical plan for launching a local delivery business in 2026, written from the software side but focused on the business decisions that come first. At the end we explain where an app kit such as Dashly, which we built, fits in.
Step 1: Choose your model
There are three common ways to start.
A single restaurant or brand
You deliver for one kitchen, perhaps your own. The app is that brand's app: its menu, its loyalty points, its customers. This is the easiest model to run, because you control the food, the timing and the quality. It also suits a restaurant that is tired of paying high commissions to big delivery platforms.
A focused marketplace
You deliver for a group of stores in one area or one category: ten restaurants in one town, a set of pharmacies, or grocery shops. You earn a commission on each order and a delivery fee from the customer. You must sign stores, train them and keep them happy.
A general marketplace
Food, grocery, pharmacy and more in one app across a city. This is the big-platform model. It needs the most stores, riders and marketing money to work, so it is usually where a business ends up, not where it starts.
Our advice: start with the smallest model that proves people will order, then grow. Good software lets you move between models without starting over.
Step 2: Draw your zones
Delivery is local. Before anything else, decide exactly where you deliver, and draw it on a map:
- How far can a rider go and come back within your promised delivery time?
- Where are the stores, and where are the customers?
- Are there areas you will not serve at night?
Each zone can have its own delivery fee and minimum order. Start with one zone you can serve well. A customer who waits ninety minutes for cold food does not order twice.
Step 3: Sign your first stores
If you are running a marketplace, stores are your supply. Approach them with a clear offer:
- Commission. What percentage of each order you keep. Be competitive with what they already pay elsewhere.
- Payout schedule. How often you pay them, and how.
- What they need to do. Accept orders quickly, mark them ready, keep the menu and sold-out items up to date.
- What you provide. A store panel (on a tablet or laptop) with a live order board that makes a sound for each new order, and help setting up the menu.
Five reliable stores beat fifty that ignore orders.
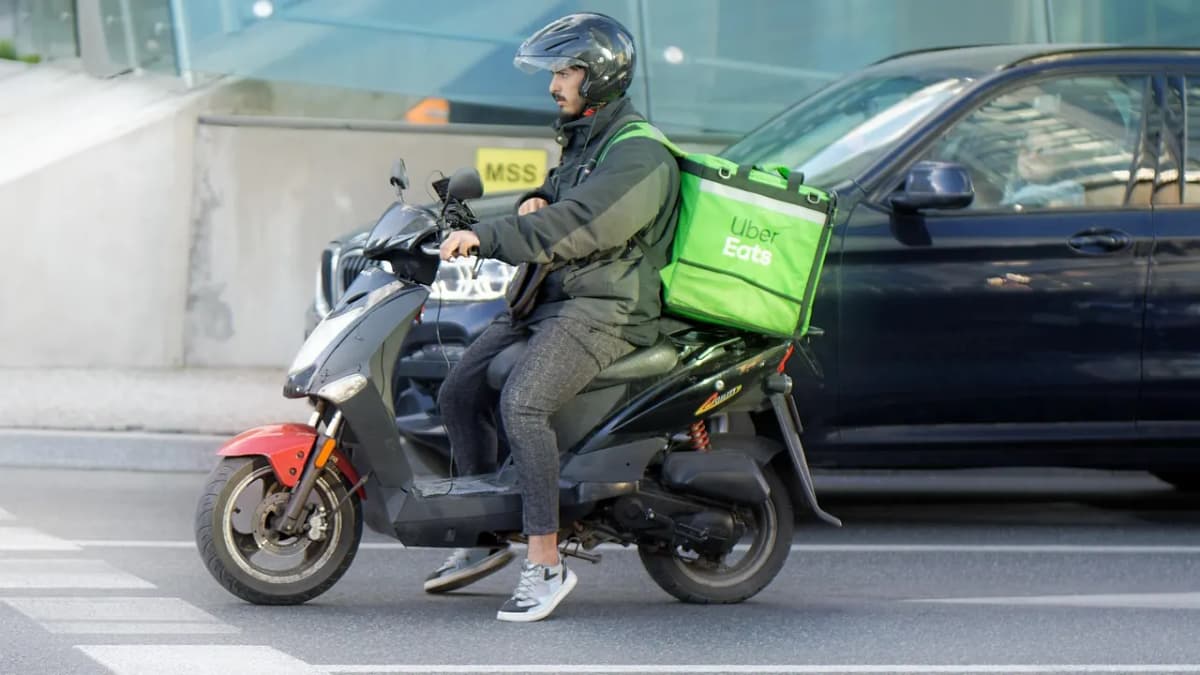
Step 4: Recruit and organise riders
Riders are your service. Decide:
- Employment model. Employees, contractors or a mix. This is a legal question in your country; get advice.
- Pay. Per delivery, per hour, or a base plus per delivery. Riders compare, so be clear and fair.
- Vehicles and documents. Licence, vehicle papers, insurance. Your rider app should collect these at sign-up so an admin can approve each rider.
- Cash handling. If customers pay cash, riders carry money. Set a cash limit, and require deposits before riders take more cash orders.
- Proof of delivery. A code the customer gives the rider, or a photo at the door, prevents "I never got it" disputes.
Step 5: Decide how customers pay
In many markets, cash on delivery is not optional. Plan for:
- Cash on delivery, with a rider cash limit;
- Card payments, through a payment provider available in your country;
- A wallet, which customers top up and spend, useful for refunds and promotions.
Also decide your fees: delivery fee by zone, service fee if any, minimum order, and whether customers can tip riders.
Step 6: Choose your software
You need five pieces of software working together:
- A customer app (iOS and Android) to browse, order, pay and track.
- A rider app to go online, accept offers and complete deliveries step by step.
- A store panel to accept orders and manage menus.
- An admin panel to run the whole operation: zones, stores, riders, payouts, coupons, support.
- A server that dispatches orders to riders and keeps everything in sync.
You can build all of that from scratch, which takes a team many months; read how much a delivery app costs to build for the realistic picture. Or you can start from an app kit, own the code, and spend your money on stores, riders and marketing instead. We cover the trade-offs in buying app source code vs building from scratch.
Where Dashly fits
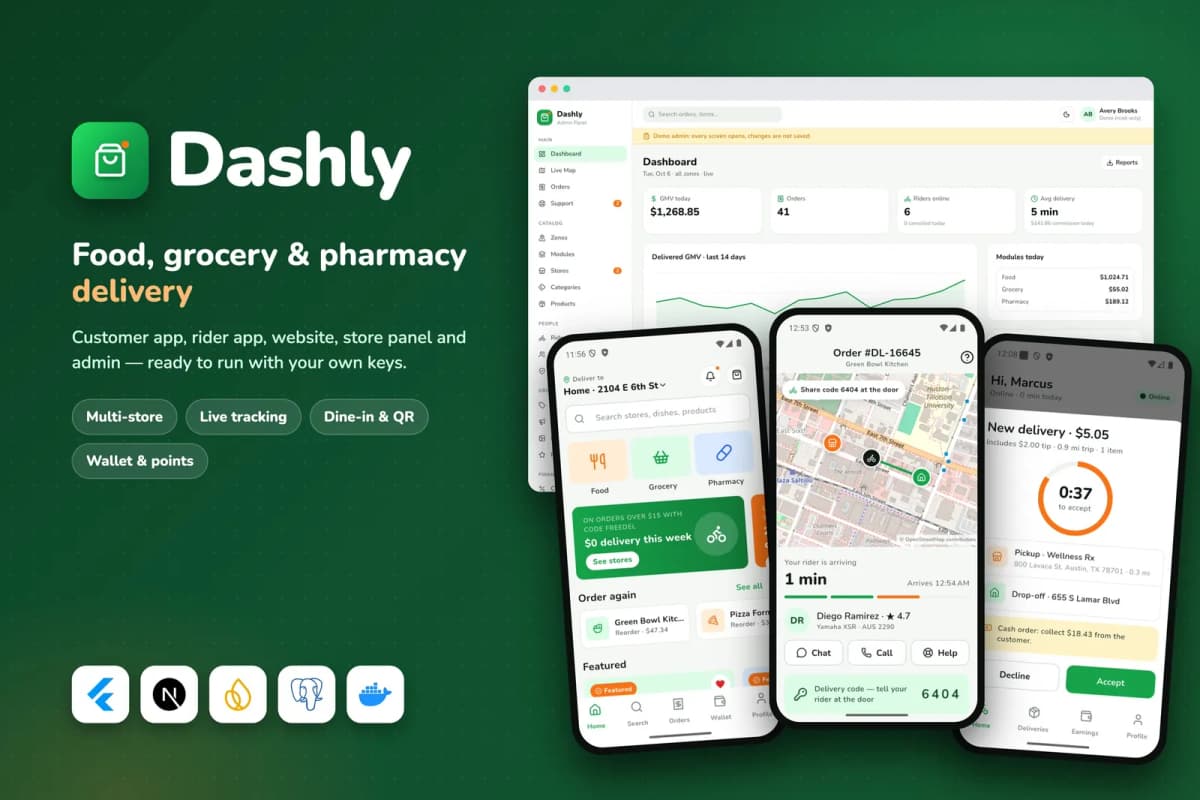
Dashly is the delivery platform kit we built for exactly this plan. You get the full source code for:
- A customer app (Flutter, iOS and Android) with food, grocery and pharmacy stores, search, menus with options and add-ons, checkout with delivery or pickup, scheduled orders, coupons and tips, live tracking on a map with rider chat and a hand-over code, reorder, ratings, a wallet, points and referrals.
- A single-restaurant mode with dine-in ordering from a table QR code, split bills and reservations, for the "one brand" model.
- A rider app with document sign-up and admin approval, offers with a countdown, step-by-step pick-up and drop-off, proof by code or photo, a cash limit, earnings and shifts.
- A customer website, a store panel with a live order board, and an admin panel with a live map, zones drawn on a map with their own fees, commissions, coupons, push campaigns, payouts, support tickets and reports.
It runs on your own server with one Docker command, works with sample data before you add any keys, and uses OpenStreetMap by default so you are not forced into paid map services on day one. Try the live Dashly demo: place an order on the website while the demo rider app is online and watch it flow through.
Honest limits: Dashly opens the phone's maps app for directions rather than offering turn-by-turn navigation inside the rider app, and payouts to stores and riders are recorded in the admin rather than sent as automatic bank transfers.
Step 7: Launch small, measure, then grow
- Soft launch with friends, family and a few regular customers of your stores.
- Watch the numbers that matter: time from order to delivery, cancelled orders, repeat customers, rider earnings per hour.
- Fix operations before spending on ads. Ads bring people to your weakest point faster.
- Then grow the zone, add stores, and run a launch offer.
What it costs to get started with a kit
- The kit: Dashly is $69 for a regular licence.
- A server: a modest Linux server with Docker is enough to start.
- Your own developer accounts for Google Play and the App Store.
- Optional help: our app kit install and setup puts it on your server with your keys, and Flutter app from a kit rebrands the apps and publishes them under your name.
Bottom line
Start with the model you can run well, draw tight zones, sign a few reliable stores, treat riders fairly, accept cash, and launch small. Use software you own so the platform grows with you instead of taking a cut of every order.
Want to see the whole operation working? Open the Dashly demo, or talk to us about launching your delivery app under your own brand.
Frequently asked questions
Usually not. An app kit gives you a working customer app, rider app, store panel and admin panel that you rebrand and run on your own server. You then spend your budget on the hard parts of the business: stores, riders and marketing.
Starting with one restaurant brand or a small group of stores is easier to run and proves demand. Dashly supports both a multi-store marketplace and a single-restaurant mode, so you can start small and switch later.
Most local delivery businesses pay riders per delivery, sometimes with a base rate per shift. Dashly tracks each rider's earnings and cash in hand, and the admin records payouts.
Yes. Cash on delivery matters in many markets. Dashly supports cash, card and wallet payments, and sets a cash limit per rider so nobody carries too much cash before depositing it.