Buying a Flutter app kit gives you working source code. Turning that code into your app in Google Play and the App Store takes a series of steps that most kit documentation covers only partly: renaming, rebranding, connecting your own services, preparing listings and getting through review.
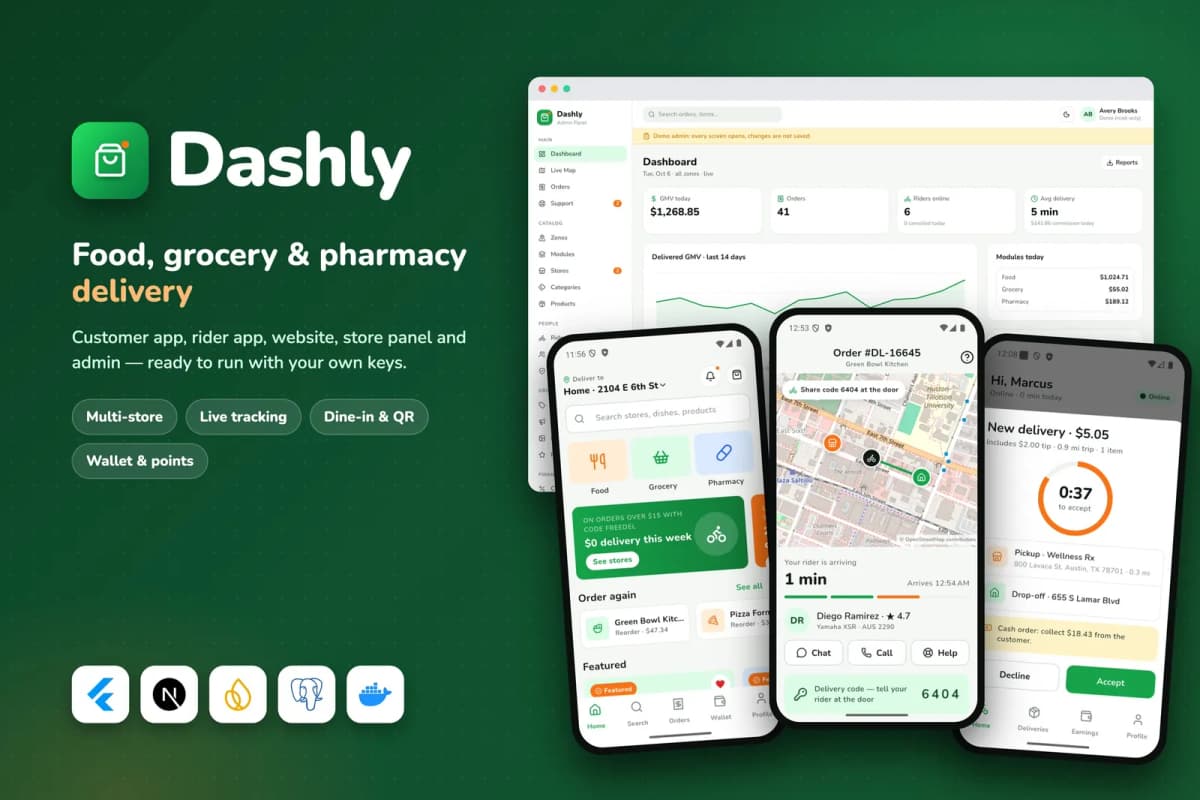
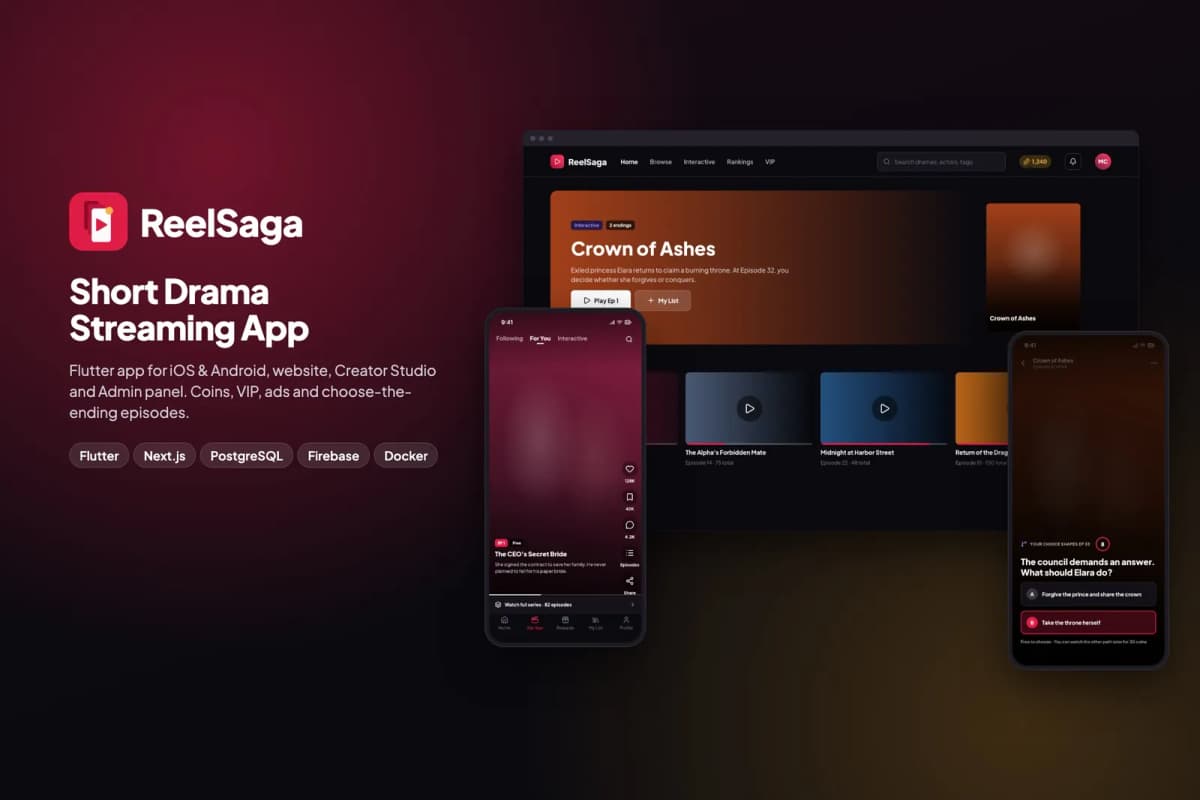
This guide walks through the whole path, using our kits Dashly and ReelSaga as examples. The steps apply to any well-made kit.
Step 1: Get your accounts in order
Before touching code, set up accounts in your business's name:
- Google Play Console developer account (a one-time registration fee). Organisation accounts need business verification; at the time of writing, new personal accounts must also run a closed test with a group of testers for a period before releasing to production.
- Apple Developer Program membership (a yearly fee). Organisation accounts need a D-U-N-S number for your company.
- A Firebase project of your own, for sign-in and push notifications.
- A server and domain for the kit's website, admin and API.
- Payment accounts (for example Stripe, RevenueCat or a local gateway) if the kit uses them.
Allow time: business verification can take days or weeks.
Step 2: Install the server first
The apps talk to your server, so set that up before building apps. With our kits, one Docker command starts the website, admin, API, worker, database and file storage on your Linux server, with migrations and sample data. Point your domain at it and turn on https.
Then open the admin's Setup page, which lists every key and tests each connection.
Step 3: Rename and rebrand
- Run the rename tool. Our kits include one that changes the app names and the Android and iOS package identifiers (bundle ids) in one command. Your package id should be your own, such as
com.yourcompany.yourapp. Choose it carefully; it cannot change after publishing. - Replace the icon and splash screen with your own artwork at all required sizes.
- Set your colours and fonts. Brand tokens live in one theme file per surface; names, logos and colours on the web side change from the admin.
- Edit legal pages: privacy policy and terms, with your company details.
Step 4: Connect your own services
- Firebase. Register your apps in your own Firebase project and add the configuration files. Enable the sign-in methods you need (Google, Apple, phone).
- API address. Point the apps at your server.
- Payments. Add your keys. In our kits, payments run in a labelled demo mode until you do.
- Maps, email, AI and ads keys as the kit requires.
Never ship the kit author's keys or test servers. Our kits are checked before release so the download contains none of ours.
Step 5: Remove sample data and add real content
App reviewers open your app. If it is full of fictional stores, placeholder videos or "Lorem ipsum", expect a rejection. Add real content: your stores and menus, your series, your listings. Remove or hide demo accounts.
Step 6: Test on real devices
- Fresh install, sign-up, sign-in and sign-out.
- The main flow end to end (order and deliver; watch and unlock).
- Payments in test mode, then one real low-value payment.
- Push notifications.
- Account deletion: both stores require apps with accounts to let users delete them.
- Poor connections and offline behaviour.
Step 7: Build release versions
- Android: create an upload key, keep it safe (losing it is painful), and build an app bundle.
- iOS: on a Mac with Xcode, set up signing with your Apple account and archive the app.
Increase the version number every time you upload.
Step 8: Prepare the store listings
- Name and short description that say what the app does, in plain words.
- Screenshots of the real app with your branding, on the required device sizes.
- Privacy details: Google's data safety form and Apple's privacy labels must match what the app actually collects.
- Content rating questionnaires.
- Support and privacy policy addresses on your website.
- Review notes and a demo account so reviewers can sign in and test.
Step 9: Submit and handle review
Submit to both stores. Common rejection reasons for kit-based apps:
- looks like a template or duplicates other apps;
- broken features or crashes during review;
- missing account deletion;
- in-app purchases for digital content not using the store's billing system where required;
- privacy declarations that do not match the app;
- placeholder content.
Read rejections carefully, fix exactly what is asked, reply politely and resubmit. Most kit apps pass after one or two rounds.
Step 10: Launch and keep updating
After approval, launch to a small group first if you can, then everyone. Plan regular updates: new OS versions, store policy changes and library updates mean apps need maintenance even when you add no features.
Doing it yourself vs getting help
If you have a developer comfortable with Flutter, servers and the stores, the steps above are very doable, and our documentation covers each part. If not, we can do it for you:
- App kit install and setup: server, domain, Firebase and keys, from $149.
- Flutter app from a kit: rebrand, store listings, builds, submission and review support under your accounts, from $499.
Common reasons for store rejection
Both stores review apps before publishing. These are the issues that most often cause a rejection for apps built from kits:
- Placeholder content. Sample names, lorem ipsum text or demo images left in the app.
- Broken sign-in for the reviewer. If your app needs an account, give the reviewer a working test account in the submission notes.
- Missing privacy information. Both stores require a privacy policy link and a description of the data the app collects. Make sure they match what the app actually does.
- Account deletion. Apple requires apps that let users create accounts to let them delete their account from inside the app.
- Payments for digital content. Apple and Google require their own in-app purchase systems for many kinds of digital goods. Physical goods and services, such as food delivery, follow different rules. Check which applies to your app.
- Too similar to other apps. Apple may reject apps that look like many others built from the same template. Your own branding, content and any real changes help here.
A rejection is usually not the end. Read the reason, fix it, reply in the review system and resubmit.
What to budget besides the kit
- Developer accounts: Apple charges a yearly fee and Google a one-time fee for publishing accounts.
- Server hosting for the backend that comes with the kit.
- Third-party services: maps, SMS, email and payment providers often charge by use once you grow beyond free tiers.
- Design work: an icon, store screenshots and maybe a logo.
- Your time or a developer's for setup, testing and updates.
Write these down before you buy, so the kit's price is not mistaken for the cost of launching.
Keeping the app healthy after launch
Apps need regular care. Each year brings new versions of iOS and Android, and the stores raise their minimum requirements. Plan to update the app's dependencies and rebuild at least a few times a year, apply kit updates when they are released, and watch crash reports so you fix problems before reviews mention them.
Bottom line
Publishing a kit under your brand means your own accounts, your own server, a clean rename and rebrand, your own service keys, real content, thorough device testing, honest store listings and patience with review. Do it in that order and your app goes live as yours.
Choose your starting point: Dashly for delivery or ReelSaga for short drama streaming, or browse all Flutter app kits. Want it done for you? Contact us.
Frequently asked questions
Yes. Publish under your own Google Play and Apple developer accounts so the apps, reviews and revenue belong to your business. Never publish a client's app under a developer's personal account.
Yes, building and uploading an iOS app requires a Mac with Xcode, or a cloud build service that provides one.
App stores reject apps that look like unmodified templates or duplicates of other apps. Change the name, icon, colours, screenshots and content, remove sample data, and make sure every feature in your listing actually works.
It varies. Reviews often take a day or two, but new accounts, rejections and resubmissions can stretch the process to weeks. Google Play may also require new personal accounts to run a closed test before production.