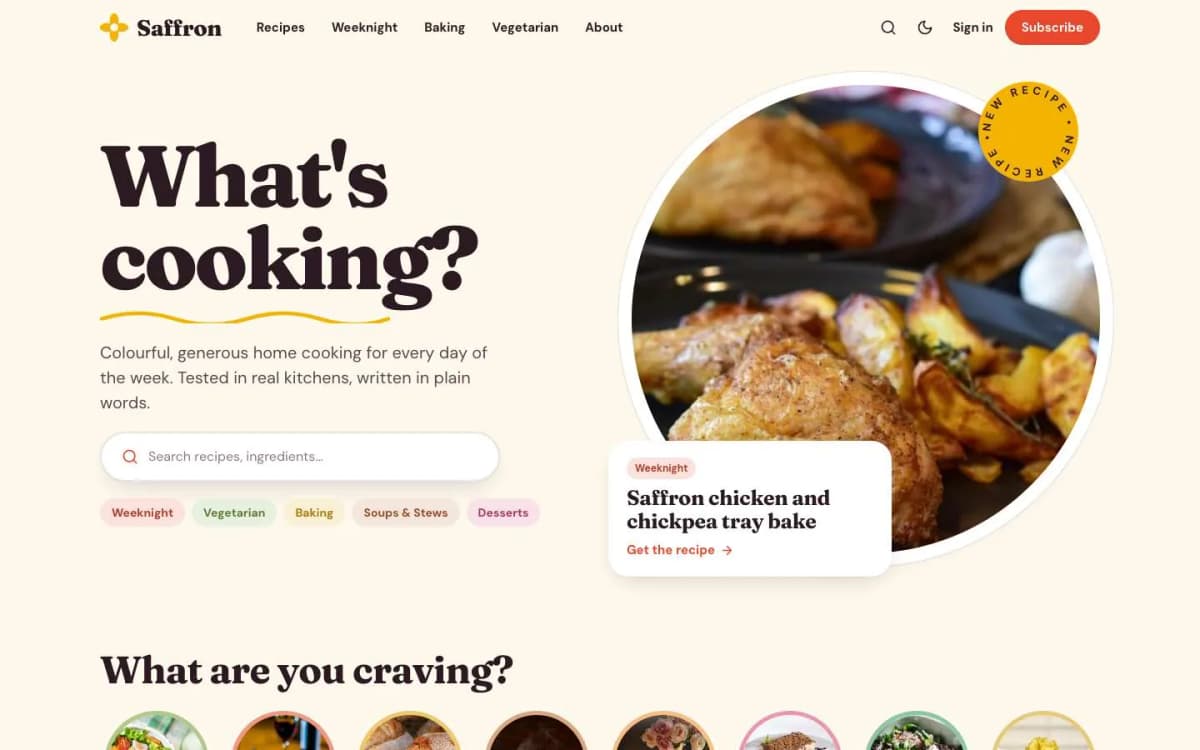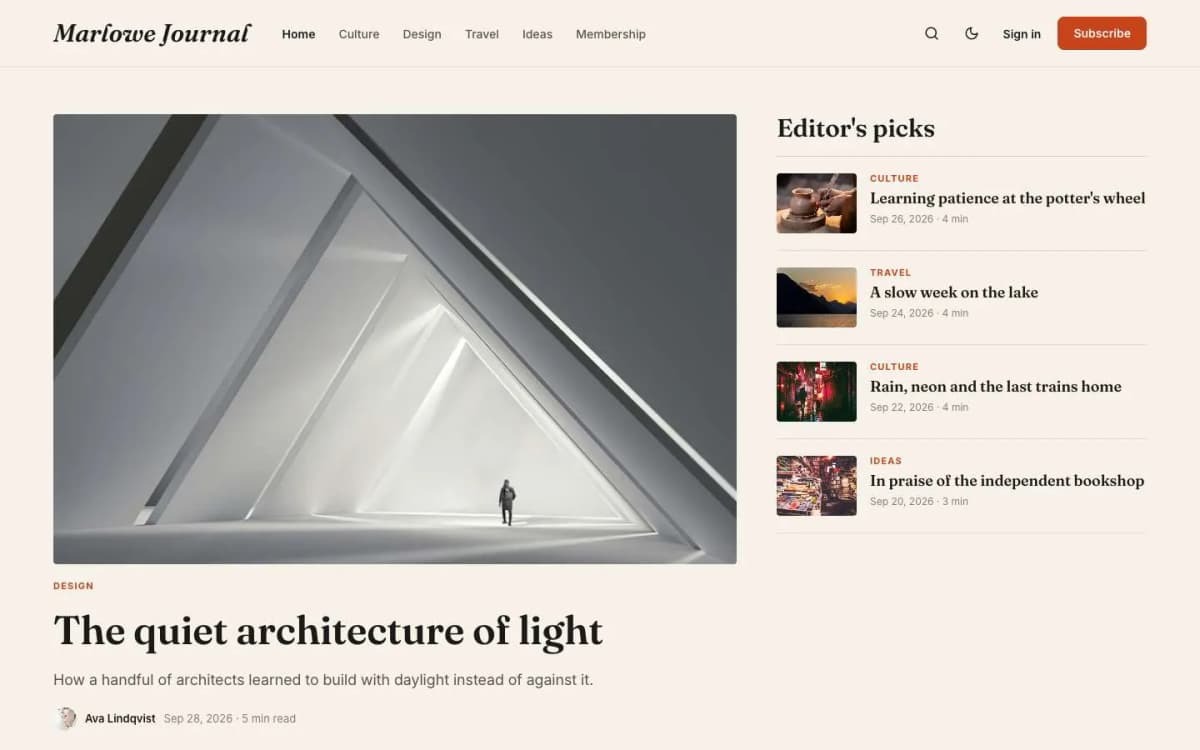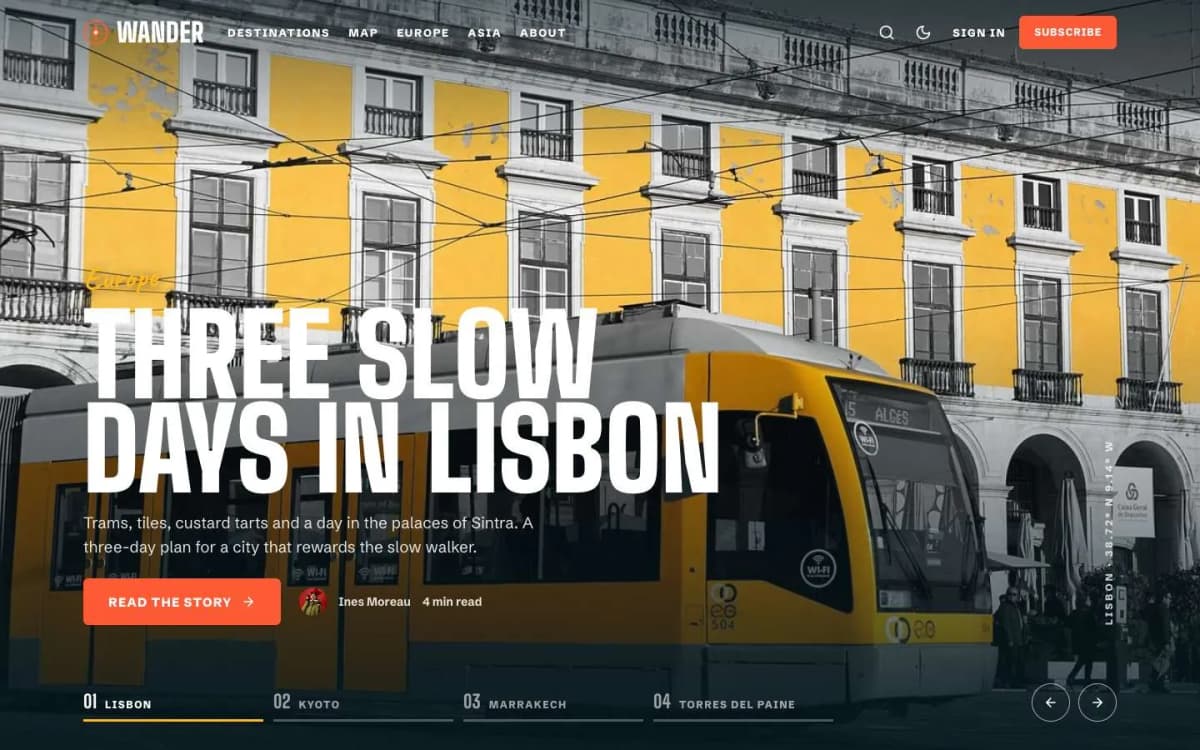
Uploading a Ghost theme takes about a minute. Making your site look like the demo you fell in love with takes a little longer, because Ghost themes build much of what you see from your content and settings: tags, featured posts, navigation and page templates.
This guide covers both: the upload, and the setup that turns an empty-looking site into the demo. The examples use our Ghost themes, but the steps apply to any modern Ghost theme.
Before you start
- A Ghost site on Ghost 6, either Ghost(Pro) on a plan that allows custom themes, or self-hosted Ghost. Check the theme's requirements; ours need Ghost 6.0 or later.
- The theme zip. In our downloads, the theme is one file; documentation and sample content are separate. Upload only the theme.
- Ten minutes of content planning. What are your main topics? Which posts are your best?
Step 1: Upload and activate
- In Ghost Admin, open Settings, then Design (the design and branding area).
- Choose to change theme and upload the theme zip.
- Activate it.
If Ghost shows warnings during upload, read them. Themes that pass Ghost's own validator (all of ours do) upload cleanly.
Step 2: Set brand basics
In the design settings:
- Accent colour. Buttons, links and highlights use it. Each of our themes documents how it uses the accent.
- Logo and icon.
- Publication cover if the theme uses one.
- Fonts, if your Ghost version and theme support font choices.
Step 3: Work through the theme settings
Every theme has its own settings in the design panel: homepage sections, titles, toggles for features. Our themes have between 16 and 19. Go through them one by one, with the documentation open. Examples:
- Marlowe has a setting to switch between Magazine, Newsletter and Journal homepage layouts.
- Saffron lets you set the hero title and text and switch the recipe tools on or off.
- Wander has slider autoplay and map settings.
Step 4: Set up navigation
Under navigation settings, add your primary menu (usually four to six links: main topics, About, and perhaps Membership) and a secondary menu for the footer. Use the links from the theme's example navigation as a starting point.
Step 5: Give your tags images, colours and descriptions
This is the step most people skip, and the main reason a site does not look like the demo. Many themes turn tags into visual sections:
- Saffron's round "What are you craving?" buttons come from tag images and colours.
- Volta colours whole sections by tag colour.
- Syllabus treats each public tag as a course.
Open each main tag and add a description, an image and an accent colour.
Step 6: Feature your best posts
Many homepage sections (editor's picks, sliders, "start here" rows, top rated panels) use posts marked Featured. Mark four to eight of your best posts as featured.
Step 7: Create pages with templates
Themes include page templates for things like Membership, Sign in, Sign up, Account, Topics and Writers, plus theme-specific pages such as Saffron's Recipe index or Wander's Map. For each:
- Create a new page with the slug the documentation suggests (for example
membership). - In the page settings, choose the matching template.
- Publish and add it to navigation if it should be there.
Step 8: Learn the theme's content patterns
Our themes build special features from plain editor content or internal tags (tags starting with #, which readers never see). Read this part of the documentation before you write:
- Saffron: an "Ingredients" heading and lists become a recipe card.
- Pixel:
#score 8.8and "Pros"/"Cons" headings become review boxes. - Syllabus:
#chaptertags and "Quick check" headings become chapters and quizzes. - Wander:
#map 38.72 -9.14 Lisbonputs a story on the map.
Step 9: Set up memberships
If you plan to have members, set up tiers, connect Stripe and test. Our guide to Ghost memberships with Stripe walks through it. Then open the Membership page, a members-only post and the account page as a visitor, a free member and a paid member.
Step 10 (optional): Import the sample content
Our downloads include the demo's sample content as an import file. It is useful on a fresh site to see every feature working, then replace with your own. Do not import it into a site that already has real content unless you plan to delete the samples afterwards. Demo photos are not included.
Common mistakes
- Uploading the whole download instead of the theme zip.
- Empty homepage sections because no posts are featured or tags have no images.
- Pages without templates, which show as plain pages.
- Forgetting the documentation's content patterns, so special features never appear.
- Not testing as a signed-out visitor. You see the site as an admin; your readers do not.
Updating a theme later
Themes receive updates for new Ghost features and fixes. Updating is the same as installing:
- Download the new version from where you bought the theme.
- Keep a copy of the current version, from Settings, Design, Change theme, where you can download the active theme.
- Upload the new zip. Ghost recognises a theme with the same name and asks whether to overwrite it.
- Check your settings. Theme settings you have set in the Design panel are usually kept, but check them after any major update.
- Click through the site: the homepage, a post, a tag page, an author page and any custom page templates.
If you edited the theme's files directly, an update will overwrite your changes. Keep a note of every edit, or better, use Ghost's code injection for small changes so updates do not wipe them.
Small customisations without editing the theme
Many changes need no theme editing at all:
- Colours and fonts often have theme settings, and Ghost's brand settings set the accent colour.
- Small style tweaks can go into Settings, Code injection, Site header, as a short block of CSS.
- Analytics or chat widgets usually go into code injection too.
- Navigation, footer links and social links are set in Ghost's settings.
- Which posts appear where is often controlled by featured posts and tags.
For larger changes, such as a new section on the homepage or a new page template, edit a copy of the theme and keep it in version control, or ask for help.
Checking the theme is healthy
Ghost runs a check on every theme you upload and warns you about errors and outdated code. Read those warnings. For deeper checks, Ghost's open-source GScan tool reports the same issues in detail. A theme that passes cleanly is less likely to break after a Ghost update.
Getting help
If something does not look right after installing, start with the theme's documentation, which explains every setting and content pattern. Check that your Ghost version meets the theme's requirements. If you would rather not do the setup yourself, our Ghost theme install and setup service covers installation, settings, navigation and memberships.
One theme at a time
Ghost runs one active theme at a time. You can keep several uploaded and switch between them, but test the switch on a quiet day.
Bottom line
Upload and activate, set brand basics, work through the theme settings, set navigation, give tags images and colours, feature your best posts, create the template pages, learn the content patterns and test memberships. Then your site will look like the demo, with your content.
Prefer not to do it yourself? Our Ghost theme install and setup service does all of the above, matched to your brand. Still choosing? Browse our Ghost themes, each with a live demo.
Frequently asked questions
Demos are full of content and settings: tags with images and colours, featured posts, navigation, page templates and theme settings. Most themes build sections from those, so a new site looks empty until you add them. Follow the theme's quick setup steps.
Yes, on plans that allow custom themes. Go to Settings, then Design, and upload the theme zip.
Only the theme zip. Our downloads include documentation and sample content as separate files. Upload the theme file in Ghost's Design settings, and import the sample content separately only if you want it.
No. Your posts, pages, members and settings stay. Only the design changes. Theme-specific settings and page template choices may need to be set again.